Mastering Three-Point Lighting
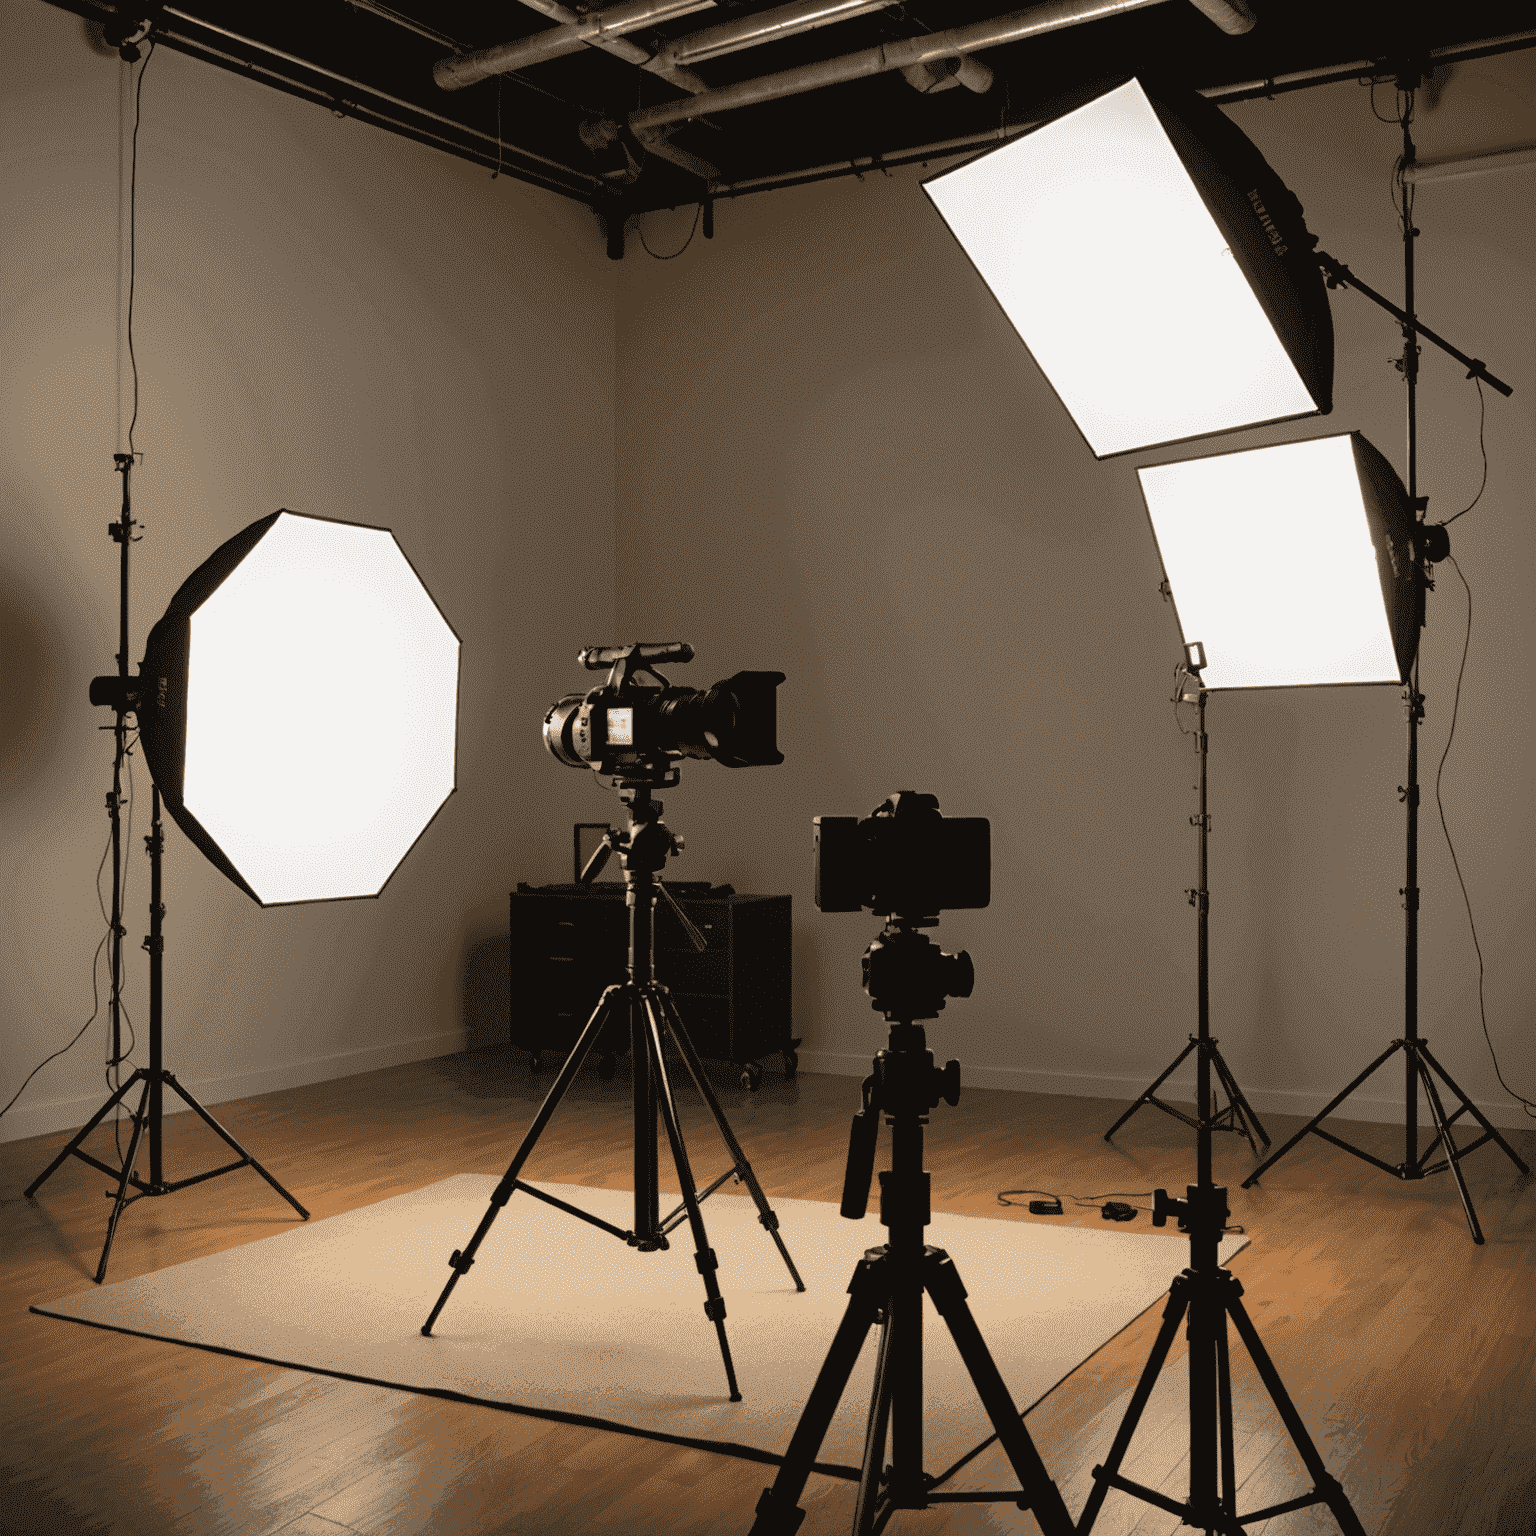
Three-point lighting is a fundamental technique in photography and videography that can dramatically enhance the quality of your shots. In this guide, we'll explore how to achieve this professional lighting setup using improvised light sources you might have at home.
Understanding the Basics
Three-point lighting consists of three main components:
- Key Light: The primary and brightest light source
- Fill Light: Softens shadows created by the key light
- Back Light: Separates the subject from the background
Improvised Light Sources
You don't need expensive studio equipment to achieve three-point lighting. Here are some household items you can use:
- Desk lamps or floor lamps
- Flashlights or smartphone lights
- Window light (natural light)
- Reflectors (can be made from white cardboard or aluminum foil)
Setting Up Your Lights
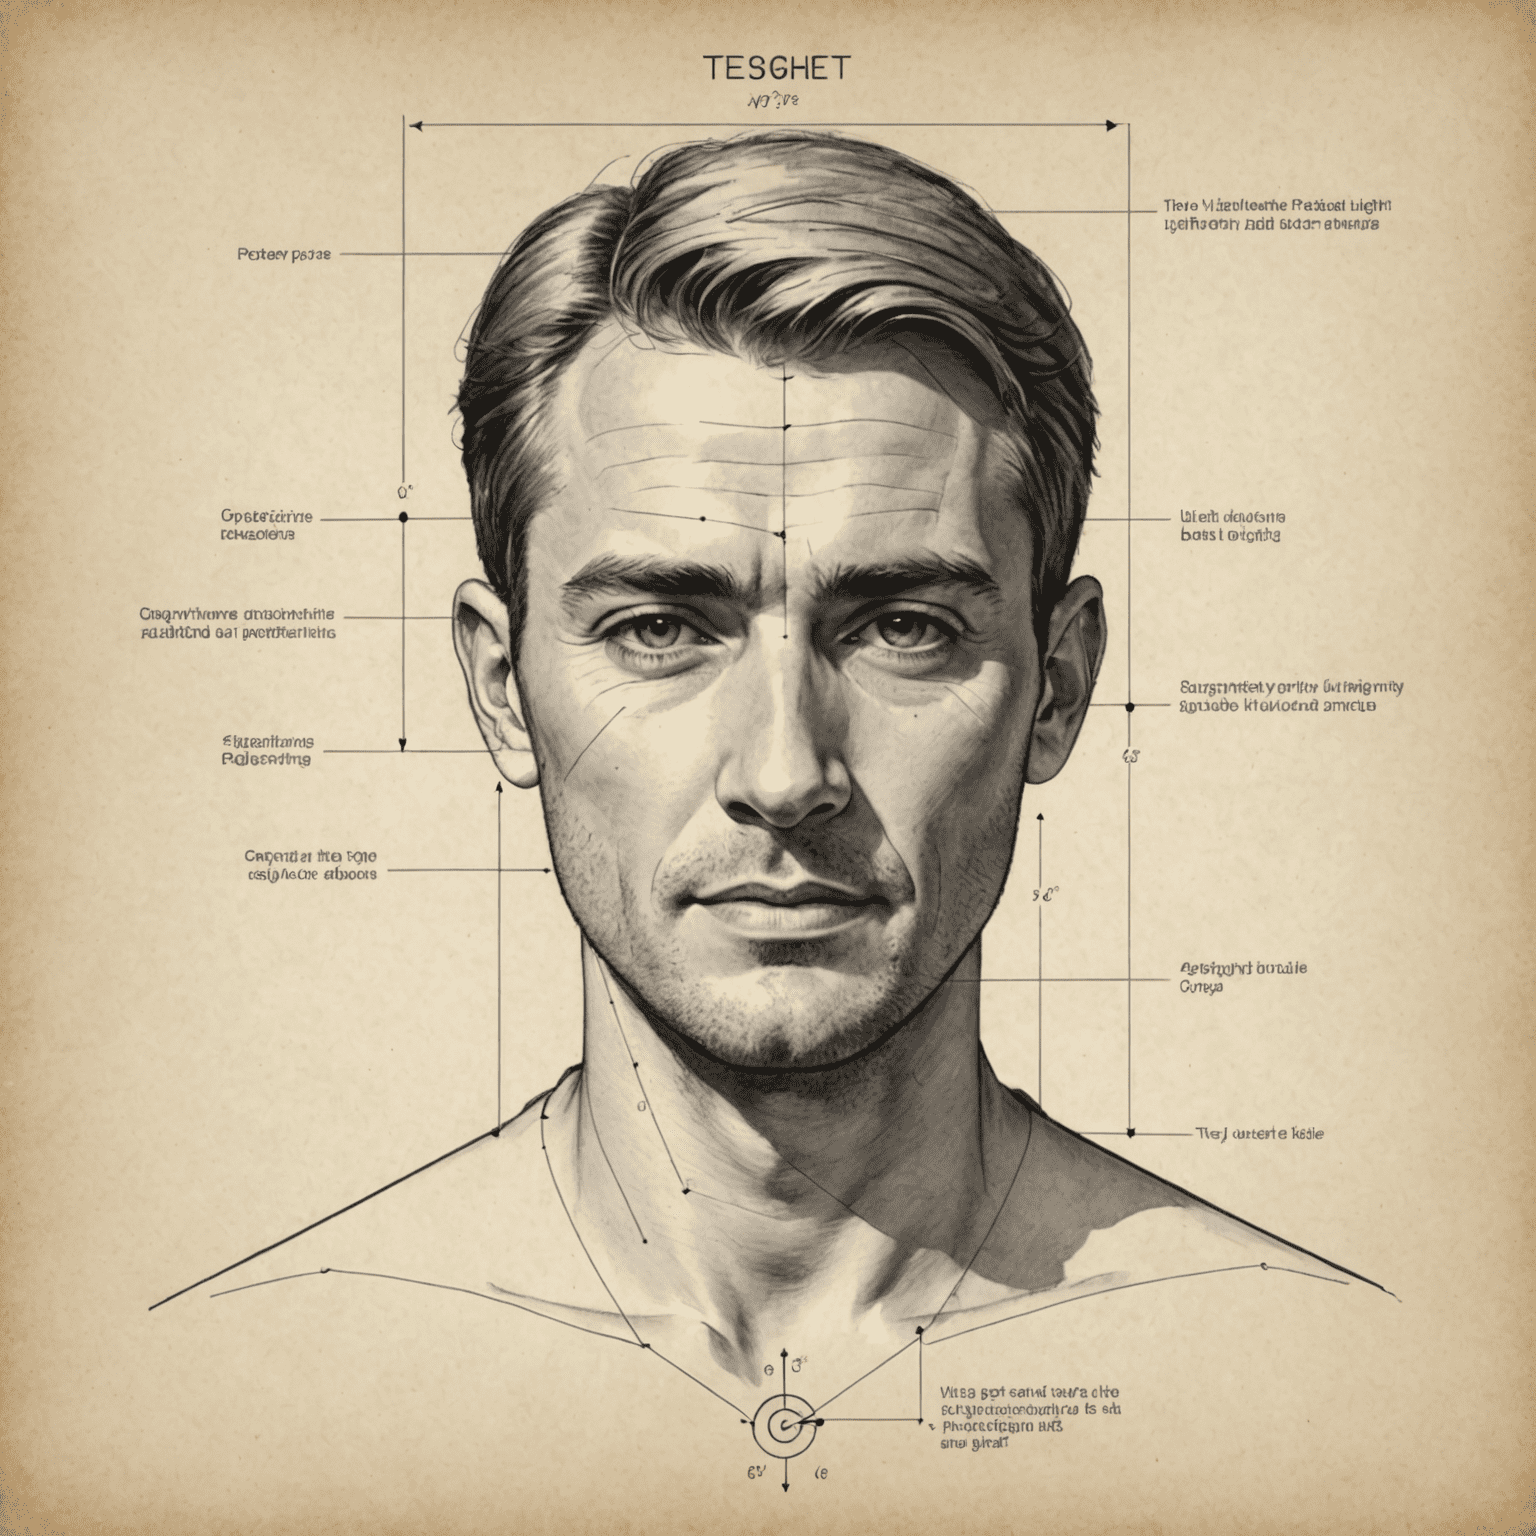
1. Key Light
Position your brightest light source (e.g., a desk lamp) at a 45-degree angle to your subject, slightly above eye level. This will be your key light, providing the main illumination.
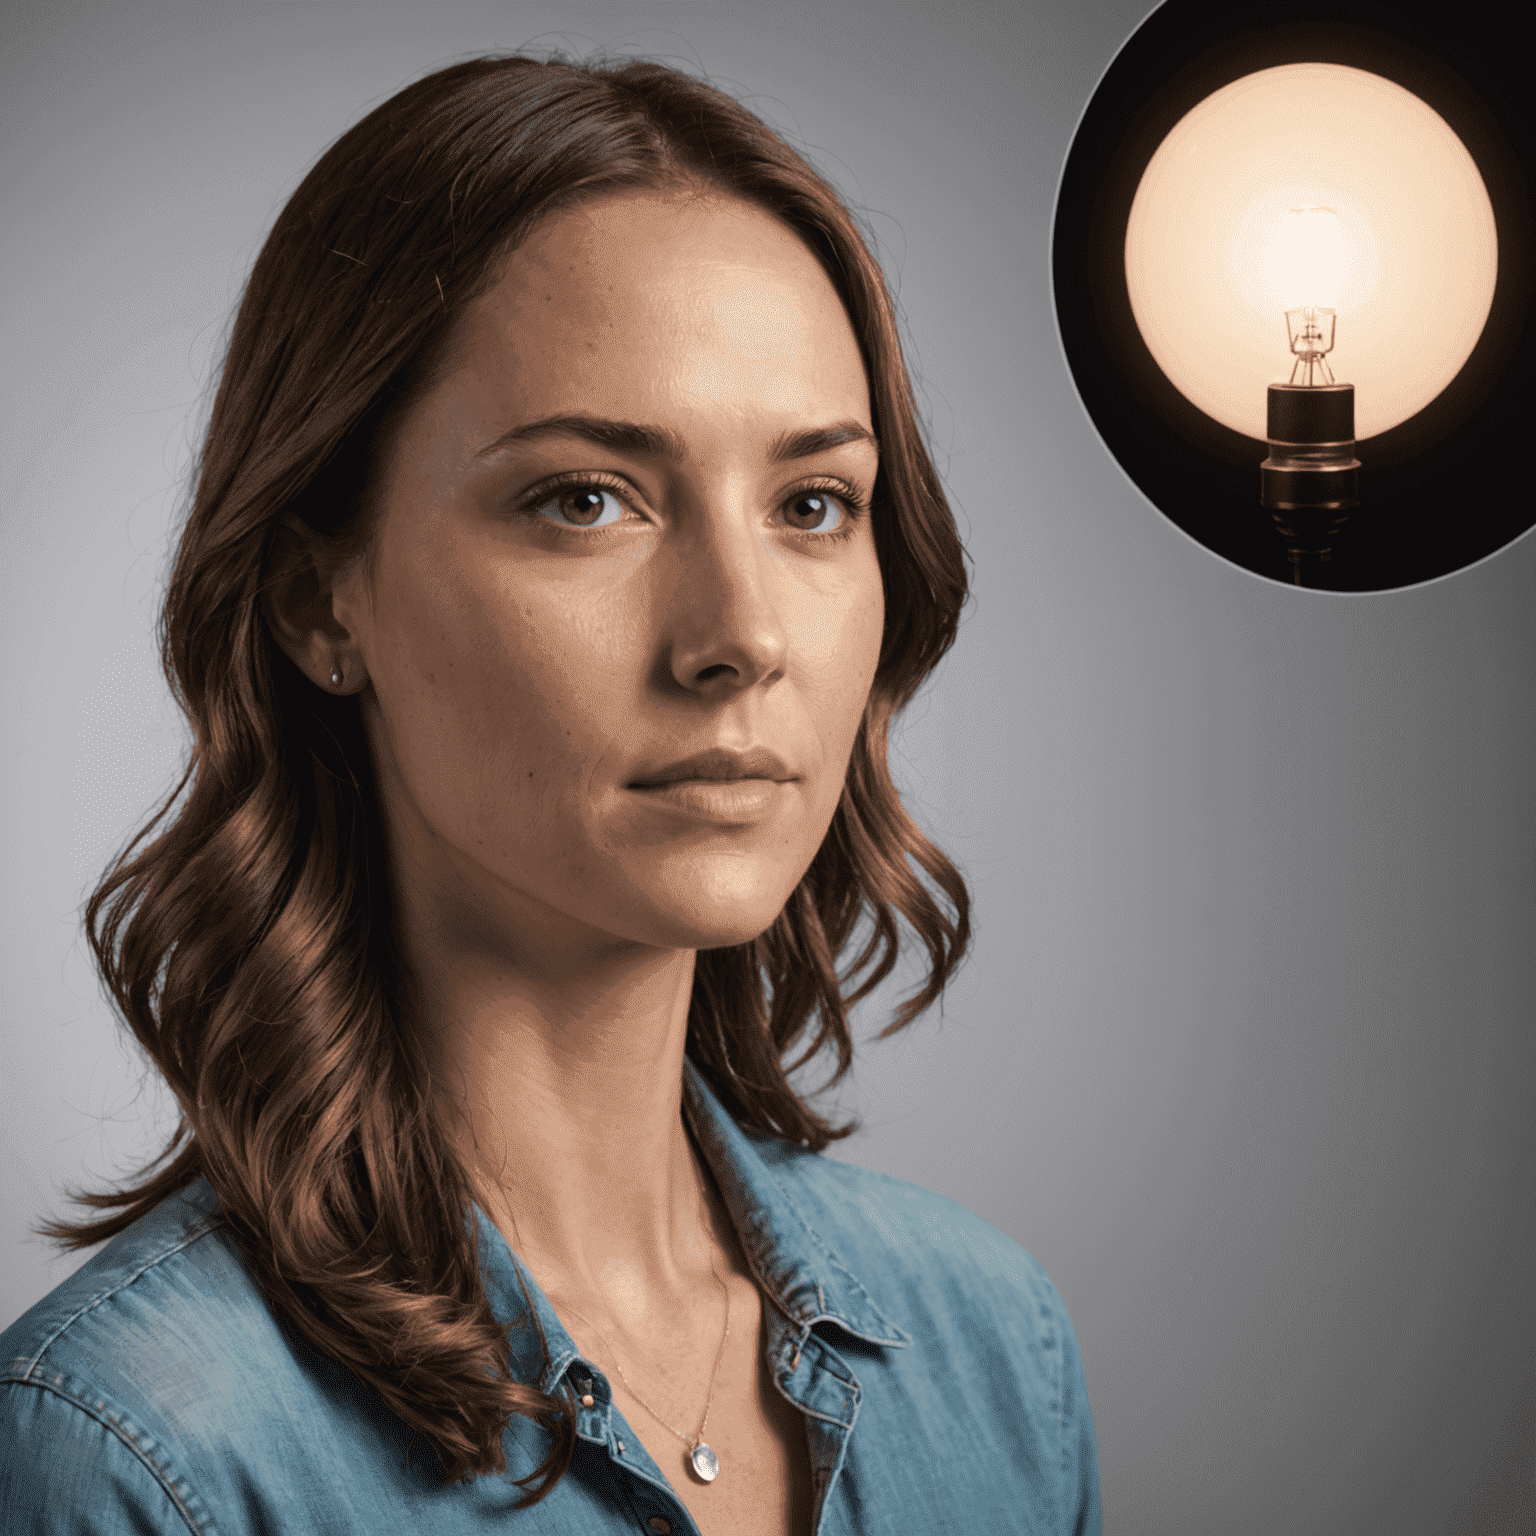
2. Fill Light
Place a softer light source (like a reflected light or a lamp with a diffuser) on the opposite side of the key light, but at a lower intensity. This fills in the shadows created by the key light.
3. Back Light
Position a light source behind and above your subject, pointing at their back. This could be a small lamp or even a carefully positioned flashlight. The back light creates a subtle glow around the subject, separating them from the background.

Tips for Success
- Experiment with light intensity by adjusting the distance between the light and your subject.
- Use diffusers (like white paper or fabric) to soften harsh light sources.
- Pay attention to unwanted shadows and adjust your lights accordingly.
- Practice with different setups to find what works best for your specific scene or subject.
By mastering three-point lighting with improvised sources, you'll be able to create professional-looking videos and photos without expensive equipment. This technique is especially useful when using video editing program like Filmora, as it provides a solid foundation for your footage, making the post-production process smoother and more effective.